nGauge – How to Perform a KAM Reset
Step 1 – Plug your nGauge into your vehicle.

__________________________________________________
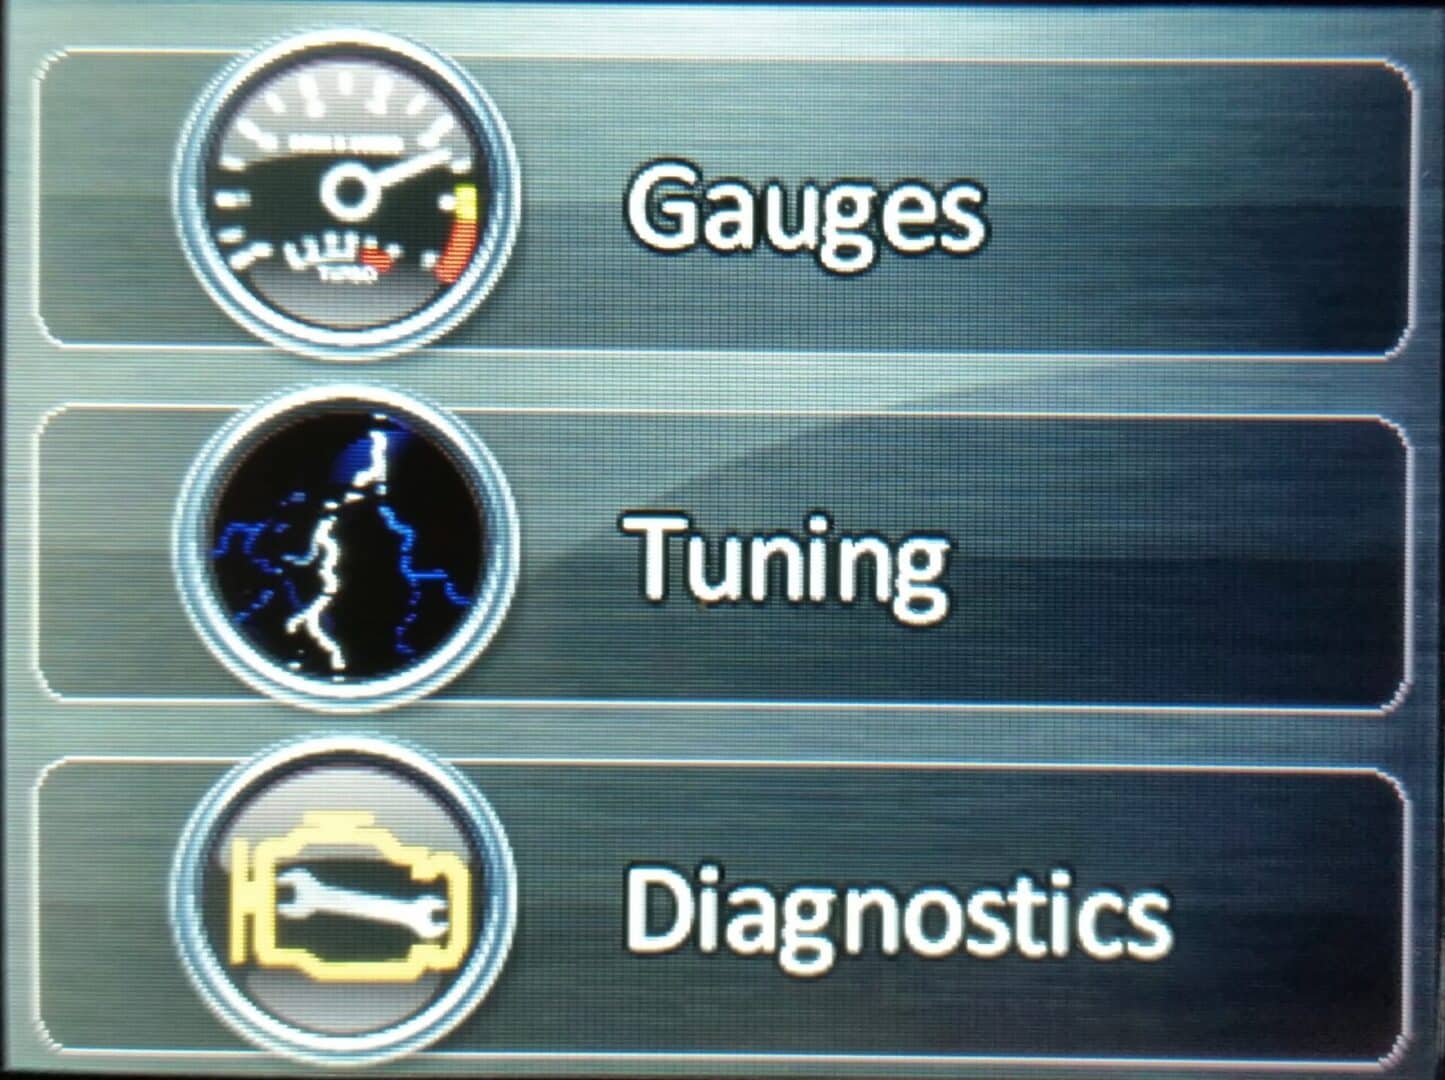
Step 2 – Select Diagnostics from the main menu.
__________________________________________________
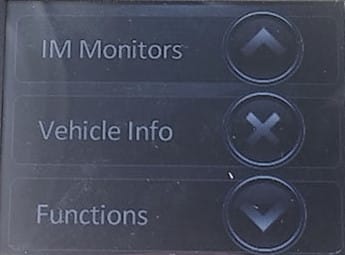
Step 3 – Arrow down and select Functions.
__________________________________________________
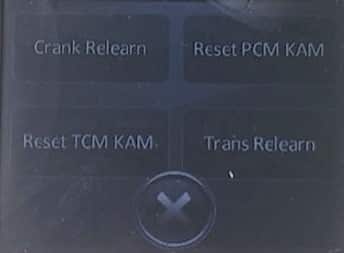
Step 4 – Follow the prompts until you find the Reset PCM KAM option and select it.
__________________________________________________
Step 5 – You will see a notification confirming the KAM Reset that says, “Operation Succeeded”. That’s it. Done!