TDN (Android) – Initial setup and reading your stock tune.
** You will need to download the app Tune Delivery Network (TDN) by HP Tuners on your Android device.
Initial Device Setup
Step 1 – When you open the TDN app for the first time, the app will display a welcome page that asks you to read and accept HP Tuners Website Privacy Policy.
a. Select PRIVACY POLICY to open the privacy policy document in a browser window.
b. When you are finished reading the privacy policy, return to the TDN app and then tap ACCEPT.
__________________________________________________
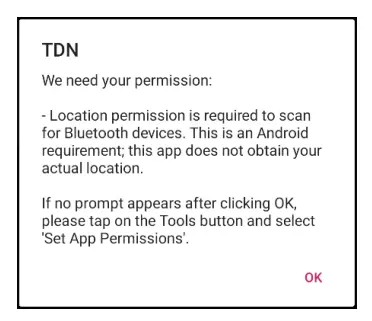
Step 2 – The app will now prompt you for permission to access your phone’s Bluetooth. Tap OK to allow access.
__________________________________________________
Step 3 – Your phone may prompt you to confirm that TDN is allowed to access Bluetooth. Grant access if prompted.
__________________________________________________
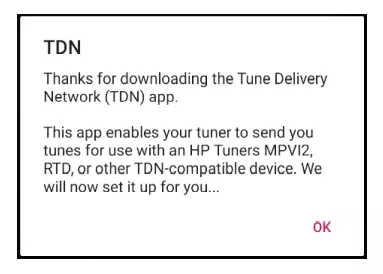
Step 4 – The app will now inform you that it is going to begin configuring your TDN- compatible device. Tap OK to proceed.
__________________________________________________
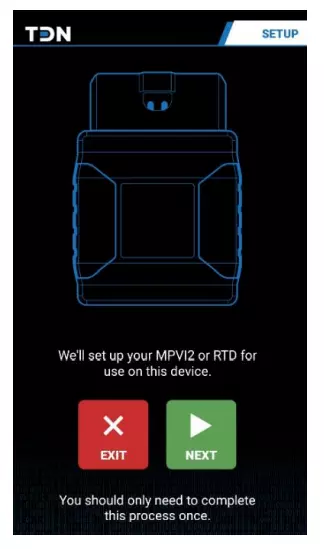
Step 5 – The app now indicates that it is about to set up your RTD+.
__________________________________________________
Step 6 – Tap NEXT.
__________________________________________________
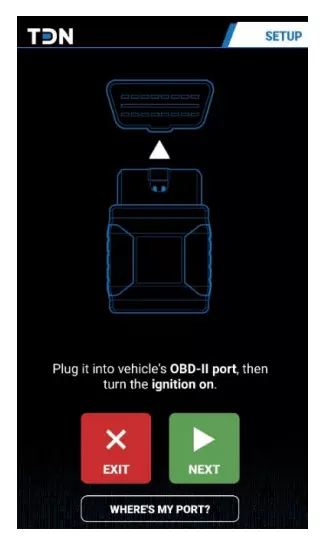
Step 7 – The TDN app prompts you to connect to your RTD+ to your vehicle’s OBD-II port and turn the vehicle’s ignition to on. Go ahead and do so now.
__________________________________________________
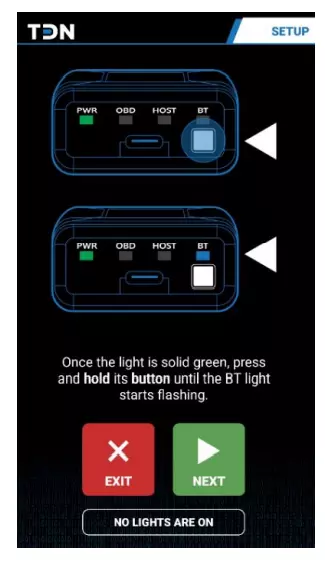
Step 8 – Tap NEXT and wait for the PWR light on the front of the device to turn on.
__________________________________________________
Step 9 – When the PWR is on solid, hold down the button on the front of the device until the BT light starts flashing.
__________________________________________________
Step 10 – Tap NEXT. The app will begin scanning for compatible devices.
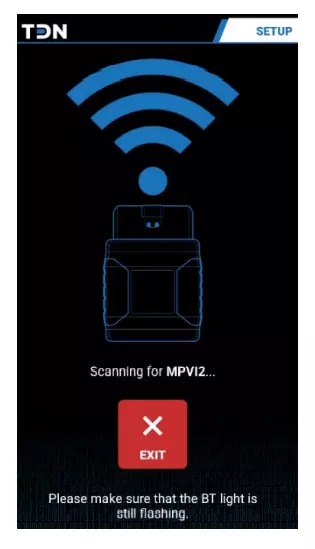
NOTE: If a problem occurs while scanning for a device or synchronizing the device with the server, the app will display an error page like the one below.
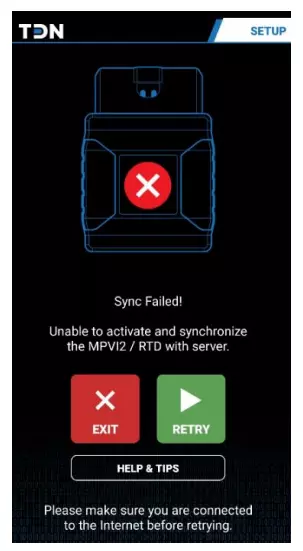
Tap RETRY to try again. If you continue to experience problems, tap the HELP & TIPS button for additional troubleshooting instructions.
__________________________________________________
Step 11 – Once the app has detected your device, it will attempt to establish a Bluetooth pairing with the device. If your phone prompts you to pair with the device, be sure to confirm.
__________________________________________________
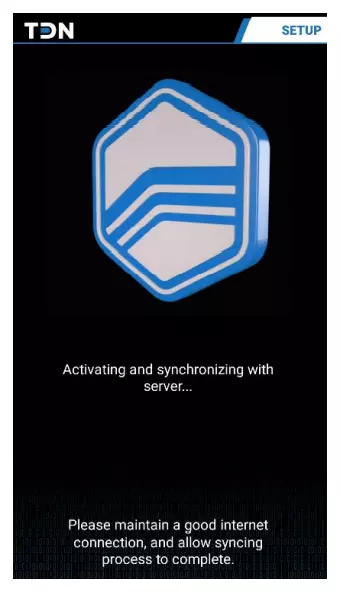
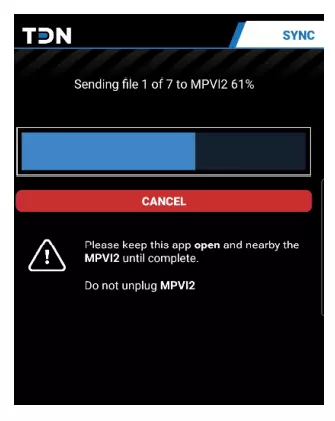
Step 12 – After successful pairing, the app will attempt to synchronize the device with the server, which may include downloading and applying firmware and resource updates to the device. Depending on the size of the updates, this may take several minutes. Be sure to keep you phone connected to the Internet and near the device until process is complete.
__________________________________________________
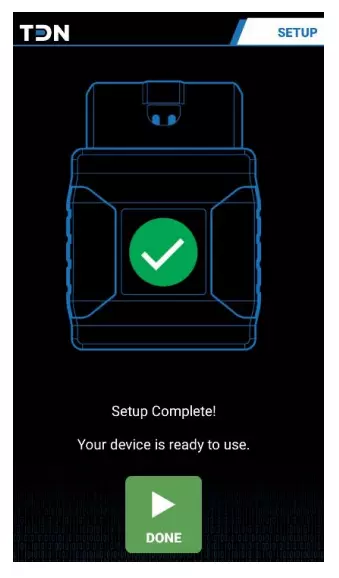
Step 13 – When the sync process is finished, the app will indicate that setup is complete. Click DONE to exit the setup wizard. If you do not yet have an HP Tuners account, proceed to Account Creation and Configuration.
__________________________________________________
Account Creation & Configuration
Once the initial setup is complete, you will need to create an account with HPTuners.com.
Step 1 – Tap the ACCOUNT button in the navigation bar.
__________________________________________________
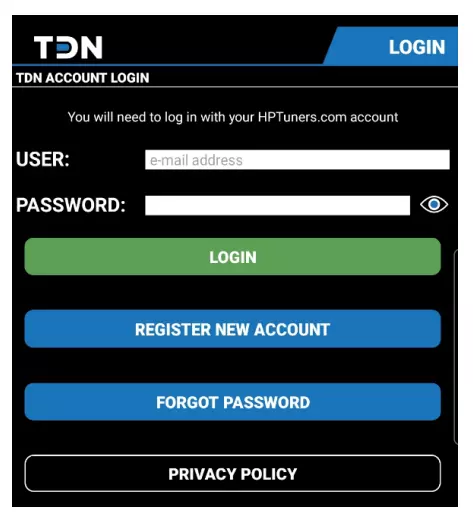
Step 2 – The TDN Account Login page appears. Tap the REGISTER NEW ACCOUNT button.
__________________________________________________
Step 3 – A browser window opens and displays the My Account page of the HP Tuners website. Click the Sign up now link at the bottom of the page.
__________________________________________________
Step 4 – The My Account Sign Up Page appears. Enter your email address and click Send Code. A verification code will be sent to the email address entered.
__________________________________________________
Step 5 – Once you receive the code, enter the verification code in the space provided and fill out the remaining fields on the page.
__________________________________________________
Step 6 – Tap CREATE.
__________________________________________________
Step 7 – Return to the login page of the TDN app and enter the credentials for the new account.
__________________________________________________
Step 8 – Tap LOGIN
__________________________________________________
Filling Out Your Account Profile
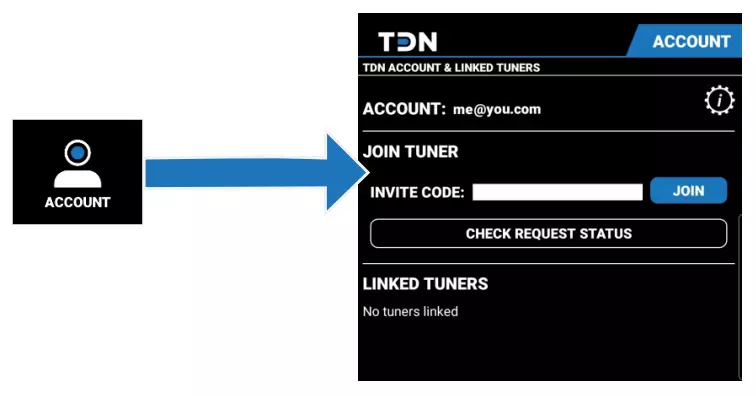
Step 1 – If the Account screen is not already displayed, go there now by selecting the ACCOUNT button in the navigation bar.
__________________________________________________
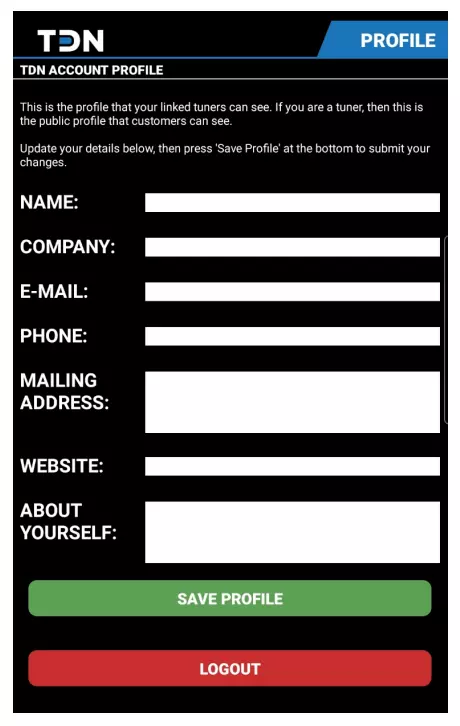
Step 2 – Tap the gear icon in the upper right corner of the screen. The Account Profile page appears.
__________________________________________________
Step 3 – Enter your Name and E-Mail, as they are required. The other contact information is optional.
__________________________________________________
Step 4 – Tap SAVE PROFILE
__________________________________________________
Joining Your Tuner's Network
Step 1 – You will need an invite code from the tuner you wish to use. If you purchased the RTD3 from Oz Tuning, the code will be in the instruction email sent out after you placed your order. If you cannot find it, contact them.
__________________________________________________
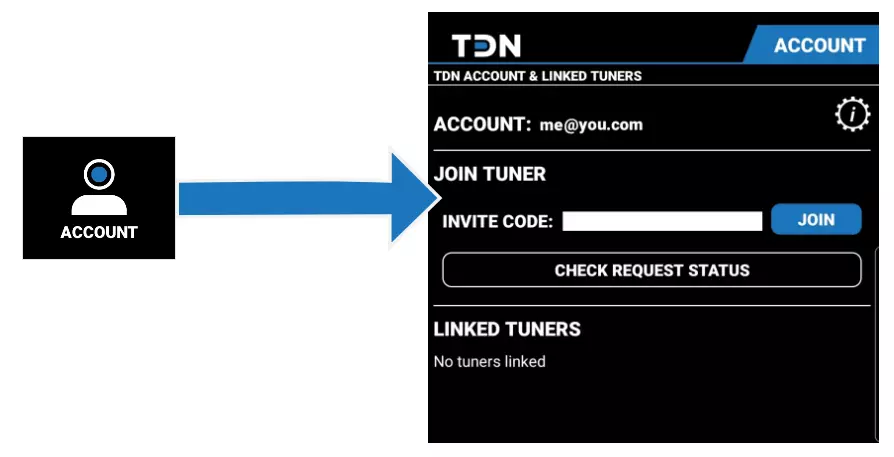
Step 2 – If the Account screen is not already displayed, go there now by selecting the ACCOUNT button in the navigation bar.
__________________________________________________
Step 3 – Enter the INVITE CODE obtained from your tuner. OZ Tuning's is HDLT-8041
__________________________________________________
Step 4 – Tap JOIN
__________________________________________________
Step 5 – If the tuner automatically accepts requests to join their network, you should receive a confirmation popup almost immediately. Otherwise, you will have to wait for the tuner to manually approve your request.
__________________________________________________
Step 6 – Once the tuner has accepted your request, they will appear in the list of Linked Tuners at the bottom of the Account screen.
__________________________________________________
Reading your current (stock) tune
Step 1 – Before you begin, ensure that:
- Your car has a fully charged battery.
- Your phone has a fully charged battery.
- Your phone has a good internet connection and its Bluetooth has been switched on.
__________________________________________________
Step 2 – Tap the FLASH button in the navigation bar.
__________________________________________________
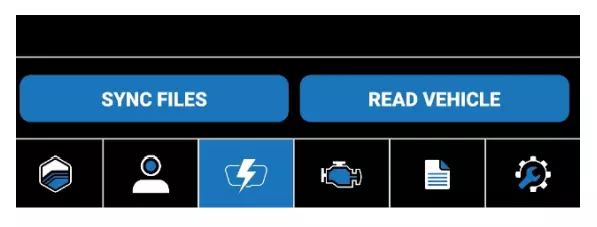
Step 3 – The Tunes screen appears. This screen will normally have a list of vehicles that you are working with, but until you perform your first read, the list will be empty. Tap the READ VEHICLE button near the bottom of the screen.
__________________________________________________
Step 4 – The app will prompt you to connect RTD+ to your vehicle and turn the ignition to the ON position (DO NOT START THE ENGINE). Do so now.
__________________________________________________
Step 5 – Tap OK to start the read process. The process is automated, but it will take several minutes, with actual time depending on the number of updates required for the RTD+ and the type of vehicle being scanned.
- CAUTION! While the read is in process, do not start the vehicle’s engine, turn the ignition off, or unplug the RTD+. Keep your phone close to the RTD+ and connected to the Internet.

__________________________________________________
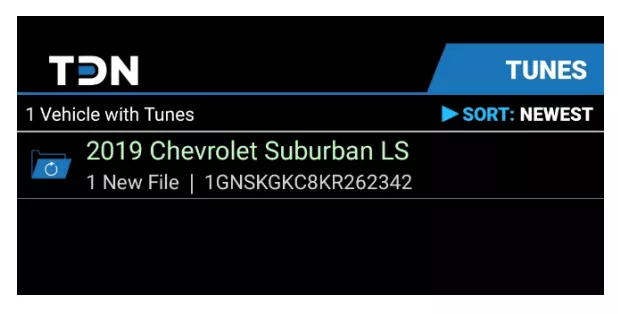
Step 6 – The first time a vehicle is read a file folder for the vehicle will be added to the list at the top of the Tunes screen.
__________________________________________________
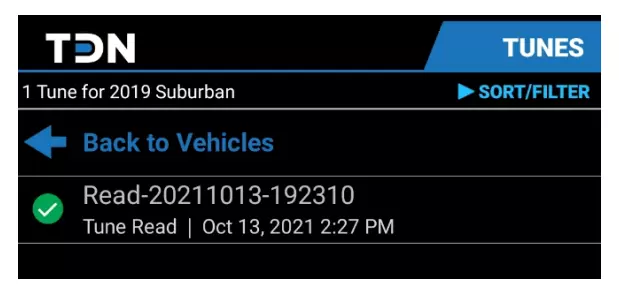
Step 7 – Find the vehicle you just read in the list and tap its name to open its folder. This screen contains a list of all the reads you have performed on the vehicle.
__________________________________________________
Step 8 – Verify that a green check icon appears to the left of the scan you just performed.
If the scan is listed here, but the green check is missing; it means the scan was successful, but the upload to the server failed. Follow these steps to resend.
a. Ensure that your phone has good internet connection.
b. Tap the SYNC FILES button near the bottom of the screen.
c. If the green check still does not appear, ensure that you are still logged into your account (go to account screen and log in again) and then try to sync the files one more time.
__________________________________________________
*** You can now proceed to fill out the tune form if you have not already done so here. Tune Form.
*** You will receive an email notification with instructions when your tune is completed.
HP Tuners, LLC. 11-2021

