Posts by Oz Tuning
TDN (iOS) – Initial setup and reading your stock tune.
** You will need to download the app Tune Delivery Network (TDN) by HP Tuners on your iOS device. Initial Device Setup Step 1 – When you open the TDN app for the first time, the app will display a welcome page that asks you to read and accept HP Tuners Website Privacy Policy.…
Read MoreTDN (Android) – Initial setup and reading your stock tune.
** You will need to download the app Tune Delivery Network (TDN) by HP Tuners on your Android device. Initial Device Setup Step 1 – When you open the TDN app for the first time, the app will display a welcome page that asks you to read and accept HP Tuners Website Privacy Policy.…
Read MoreTDN (Android) – Loading your custom tune.
NOTE: The TDN software is licensed per vehicle tuned. If you are flashing a vehicle for the first time, you must have purchased enough credits to tune the vehicle or the flash will fail. If you purchased a tune package with the RTD+ Interface from Oz Tuning, the credits are included with the purchase. Step…
Read MoreKinetik Crank Saver Stud Kit – Installation Instructions
Do NOT use the Crank Saver to install crankshaft pulley. Use the installation tools designated by the manufacturer. PREPARATION: (if using in new crankshaft, proceed to installation section) Remove crankshaft bolt and washer. Removal of the pulley is not required. Clean inside of crankshaft snout to the best of your ability using WD-40, aerosol…
Read MoreRTD Interface & MPVI2 – Cannot Resync or Connect.
If you have a connection issue with your device and your computer can’t connect to your RTD or MPVI2, and gives a message, “Please connect an MPVI2 or RTD interface”, you will need to download and install the drivers from HP Tuners. _______________ 1. Use the link here Drivers, and click on the option “Download MPVI2…
Read MoreRTD Interface & MPVI2 – Loading your custom tune.
* Video on bottom of page * Step 1 – Save or Save As the attached tune (Example: Oz Tuning – Omega – V1.rtd) to your computer. We suggest making a new folder on your Desktop, or another easy to locate section. Then simply save the file. (You cannot open this file as it is…
Read MoreRTD Interface & MPVI2 – Returning Back to stock.
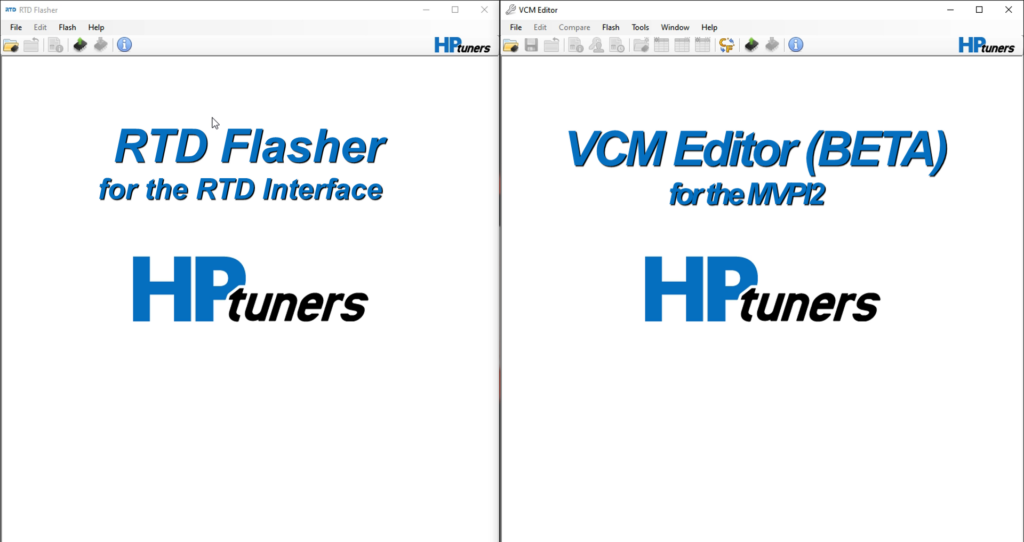
* Video on bottom of page * Step 1 – Plug up your RTD Interface or MPVI2 to your OBDII port, and to your laptop. A good internet connection is required. __________________________________________________ Step 2 – Open your HP Tuners software. NOTE: RTD requires the RTD Flasher software, and the MPVI2 requires the VCM Editor (BETA)…
Read MoreAdaptive Learning Drive Cycle – 10R80
Programming NOTE: Perform the adaptive learning drive cycle on a level road surface. Using the scan tool, clear the DTCs (Diagnostic Trouble Codes) and Transmission Adaptive Tables. Drive the vehicle until the engine and transmission reach normal operating temperature. Accelerate from a stop with light throttle (15%) ensuring that upshifts 1st through 8th occur at…
Read MoreRTD Interface & MPVI2 – How to reset KAM and Trans Adaptives.
Step 1 – Plug up your RTD Interface or MPVI2, and your laptop to your vehicle. NOTE: You will be using VCM Scanner BETA (NOT the RTD Flasher or VCM Editor) for this procedure, so open up that too. *If you have not downloaded the VCM Scanner software, you can do so by clicking here.…
Read MorenGauge – Datalog Error Fix
There is an issue with the datalogging config file on your nGauge. If your nGauge came from us, you likely selected a different set of PIDs to log/view and overwrote the config we preloaded to the device. If you did not get your device from us, you never had the correct config file, and you’ll…
Read More

